How AI Increases Image Resolution: AI vs Traditional Upscaling
Learn how AI increases image resolution, how it differs from bicubic resizing, what details it can and cannot restore, and when to choose original-size, 2x, or 4x enhancement.
 Image Enhancer Editorial Team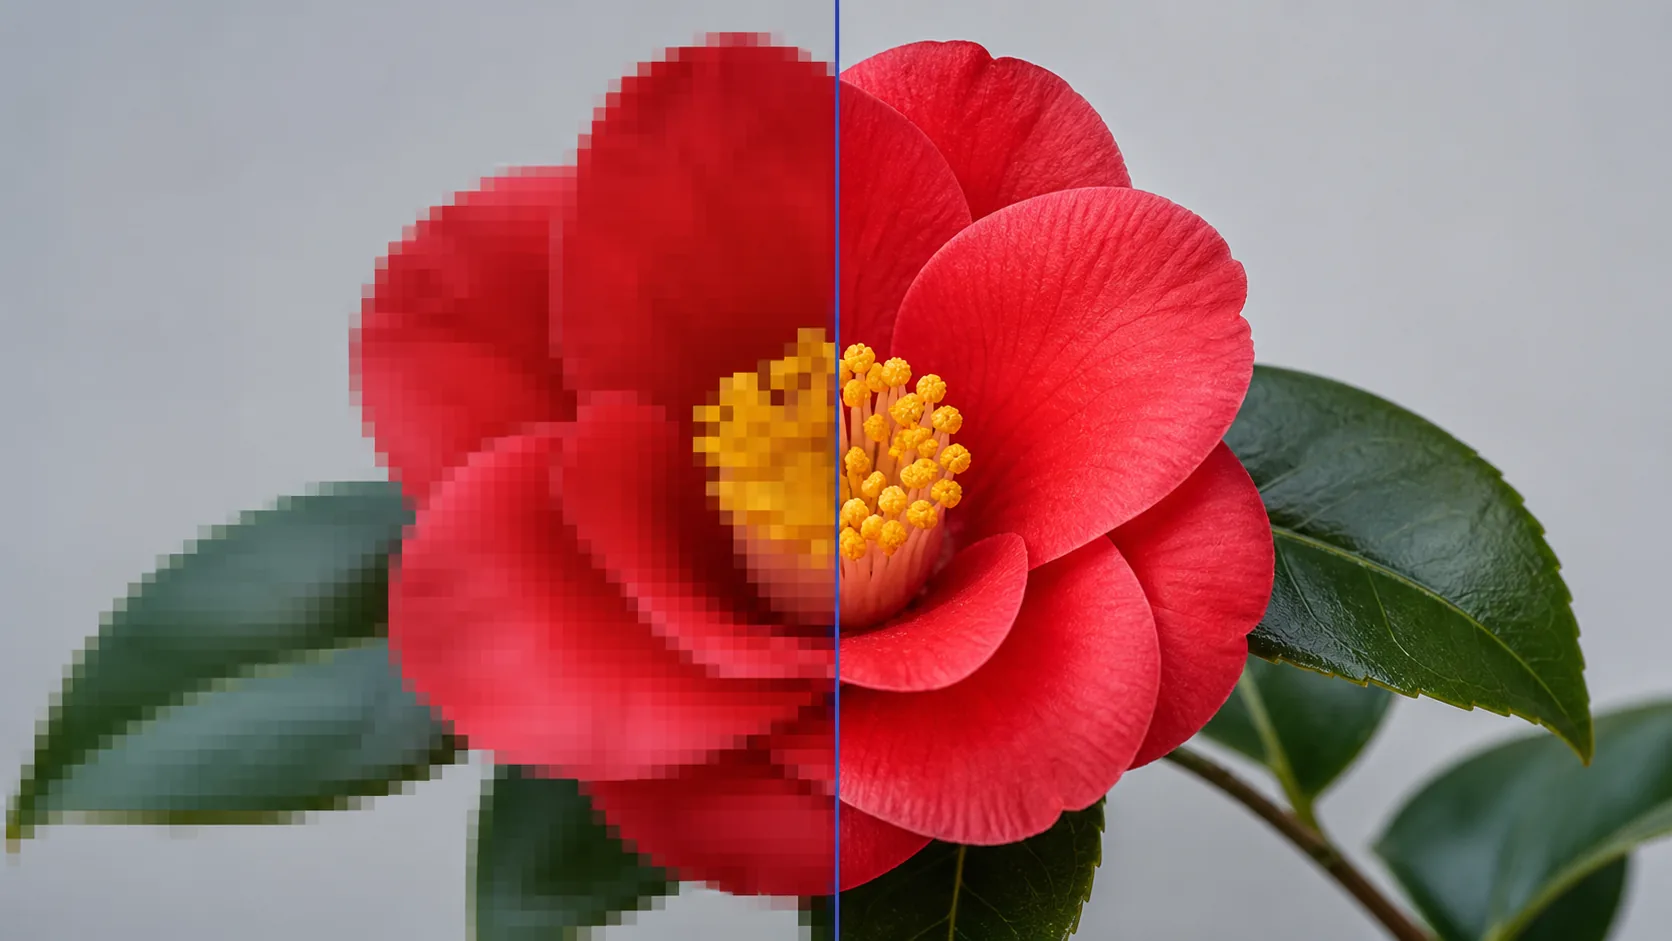
AI can increase an image's resolution by creating new pixels while estimating how edges, textures, and other visual features should appear at a larger size. Traditional resizing also creates pixels, but usually calculates them from nearby colors. The difference is not simply the number of pixels. It is how the new pixels are decided.
This distinction matters because an AI-upscaled image may look clearer than a conventionally enlarged file, yet the added detail is still an estimate. AI does not travel back to the moment the image was captured. This guide explains the mechanism in practical terms and shows how to choose a suitable method and scale.
Quick answer: AI estimates detail, resizing interpolates pixels
| Method | How new pixels are created | Best suited to | Main limitation |
|---|---|---|---|
| Nearest-neighbor | Repeats the closest source pixel | Pixel art and hard-edged graphics | Looks blocky on photographs |
| Bilinear or bicubic | Calculates values from nearby pixels | Modest resizing and smooth gradients | Large enlargements can become soft |
| AI super-resolution | Predicts a detailed high-resolution result from learned image patterns | Low-resolution photos and illustrations | May invent or alter fine details |
Use conventional resizing when you only need different pixel dimensions and the change is small. Compare AI enhancement when a small image also needs cleaner-looking edges or texture. Use the original vector or source file whenever exact text, logos, diagrams, or recorded facts matter.
What does increasing image resolution mean?
For a raster image, resolution usually refers to its pixel dimensions: width multiplied by height. An 800 x 600px image contains 480,000 pixels. Enlarging it to 1,600 x 1,200px produces four times as many pixels because both dimensions are doubled.
Those extra pixels must come from somewhere. A resize algorithm or AI model calculates their colors. Merely changing a PPI or DPI metadata field without resampling does not create them. For printing, pixel dimensions must be considered together with the physical print size; for screens, the destination width and height in pixels are usually the useful measurements.
See the complete guide to increasing image resolution for the relationship between pixels, PPI, DPI, and file size.
How traditional enlargement works
Traditional interpolation applies a mathematical rule to the existing pixel grid.
Nearest-neighbor repeats pixels
Each new pixel takes the color of the closest source pixel. It preserves deliberate square pixels and hard boundaries, so it is appropriate for pixel art enlarged at a whole-number scale. It usually creates obvious steps and blocks in photographs.
Bilinear blends a small neighborhood
Bilinear interpolation blends nearby pixels. It is fast and smooths jagged transitions, but a substantial enlargement can look soft because the method has no understanding of what the image contains.
Bicubic uses a wider neighborhood
Bicubic interpolation considers more surrounding pixels and generally produces smoother gradients than bilinear resizing. Editing applications may provide variants tuned for enlargement or reduction. Adobe currently lists Preserve Details 2.0 and Bicubic Smoother for enlargement, Bicubic Sharper for reduction, and Nearest Neighbor for hard-edged graphics.
These methods are predictable. They do not decide that a blurred area is hair, fabric, or foliage. Their strength is controlled resampling; their limitation is that they cannot synthesize convincing structure from a severely undersampled source.
How AI super-resolution works
AI super-resolution uses a model trained to map low-resolution inputs to plausible high-resolution outputs. During training, the model sees examples of degraded or reduced images and learns statistical relationships between coarse structures and finer detail.
A simplified processing flow looks like this:
- The input is analyzed for edges, shapes, textures, noise, and compression artifacts.
- Internal feature representations describe patterns across a wider area than a single pixel neighborhood.
- The model predicts a larger pixel grid and reconstructs likely detail.
- The output may be refined to reduce noise, ringing, or block artifacts.
Different models and services use different architectures and training data, so two AI tools can produce visibly different results from the same source. One may prioritize smooth natural skin, another sharp line art, and another aggressive texture. The exact behavior of a service cannot be inferred from the phrase "AI upscaling" alone.
Research such as SRGAN demonstrated that perceptual and adversarial training could produce more photo-realistic texture than optimization based only on pixel error. Later work such as Real-ESRGAN focused on unknown, mixed real-world degradation rather than a single clean downsampling formula. These approaches help explain why modern tools can improve apparent detail, but also why generated texture is not guaranteed to be historically accurate.
Does AI restore the original detail?
Not necessarily. AI can reconstruct a plausible result, but it cannot prove what was present before information was lost.
Imagine that a distant sign occupies only a few blurred pixels. Many different letters could produce the same tiny pattern. A model may generate characters that look sharper without recovering the actual wording. Similar ambiguity applies to faces, license plates, product labels, small jewelry, medical material, and evidence.
Treat AI output as an enhanced interpretation when the source does not contain enough information. Compare it with the original and do not use newly generated detail as the only basis for identity, diagnosis, legal conclusions, archival transcription, or technical measurement.
AI upscaling versus normal resizing
Choose normal resizing when
- the image is already clean and only needs a modest size change;
- exact pixel patterns must be preserved;
- you are reducing rather than enlarging the image;
- the source is pixel art and should keep a hard grid;
- speed and repeatability matter more than apparent new detail.
Compare AI enhancement when
- a small photograph needs a 2x or 4x output;
- JPEG blocks or soft contours become visible after enlargement;
- an illustration needs cleaner edges at a larger size;
- you need to improve apparent clarity without learning complex editor settings;
- conventional interpolation produces an obviously soft result.
Return to the source instead when
- a RAW file, full-size phone photo, vector logo, PDF, PSD, or original illustration file exists;
- text, diagrams, or product details must remain exact;
- the image is severely out of focus or motion-blurred;
- the requested output is far larger than the source can reasonably support.
Starting with a better source usually provides a more faithful result than applying a stronger model to a damaged copy.
How to choose original-size, 2x, or 4x enhancement
Original size
Use original-size enhancement when the width and height are already sufficient but the image looks mildly soft, noisy, or compressed. Because the dimensions do not change, this mode is suited to cleaning up an existing web or document asset without creating an unnecessarily large file.
2x
Use 2x when you need twice the width and height. A 1,200 x 800px source becomes 2,400 x 1,600px. This is often a practical first comparison for web layouts, presentations, and moderate print placement.
4x
Use 4x when the source is genuinely small and the destination requires a substantially larger file. A 600 x 400px source becomes 2,400 x 1,600px. Since the total pixel count becomes sixteen times larger, inspect the result carefully for invented texture, altered faces, and heavier file size.
The highest scale is not automatically the highest quality. Choose the smallest output that meets the destination requirement. The AI image upscaler lets you compare original-size, 2x, and 4x processing.
A reliable AI resolution workflow
1. Find the best available source
Use the camera original, full-size cloud backup, or editable design file. Images saved from a social network, messaging app, thumbnail, or screenshot may have already been resized or recompressed.
2. Calculate the required output
For a screen, check the destination pixel dimensions. For print, calculate the required pixels from the physical size and printer's requested ppi. The print-resolution chart provides common sizes.
3. Keep the original and process once
Create a separate output instead of overwriting the source. Repeated JPEG saves and multiple enlargement passes can accumulate artifacts.
4. Compare at 100%
Inspect faces, hair, text, logos, line art, repeating patterns, and high-contrast edges. Look for halos, melted shapes, duplicated texture, plastic-looking skin, false lettering, and moire patterns.
5. Judge at the final display size
A result that looks slightly soft at 100% may be natural at its actual placement. Conversely, a dramatically sharp crop may look artificial in the complete image. Make the final decision in the context where the image will be used.
6. Export in a suitable format
JPEG or WebP is generally efficient for photographs. PNG is useful for transparency, line art, and text-heavy graphics. Keep a high-quality master and make a separate delivery file for the website, document, or printer.
Common AI upscaling artifacts
Invented facial features
Eyes, teeth, eyelashes, and skin texture may become more regular or symmetrical than the source. Check identity-sensitive portraits against the original.
False text and symbols
Tiny text may turn into plausible but incorrect shapes. Replace important lettering from a trusted source rather than trying to read the AI result.
Repeating texture
Hair, grass, brick, and fabric may develop repeated patterns. Reduce the scale or try a less aggressive mode if the texture draws attention to itself.
Halos and oversharpening
Bright or dark outlines around edges indicate excessive local contrast. Avoid heavy sharpening before upscaling and apply only mild output sharpening after the final dimensions are set.
Lost line weight
Illustrations can gain uneven or broken lines. Check flat color boundaries, screentones, transparency, and thin strokes separately from photographic texture.
Frequently asked questions
Is AI super-resolution the same as sharpening?
No. Sharpening increases local edge contrast, while super-resolution creates a larger pixel grid and may reconstruct detail. Some services combine resizing, denoising, artifact reduction, and sharpening, so the visible result can include several operations.
Does 2x upscaling double the number of pixels?
It doubles the width and height, which creates four times the total pixel count. A 4x scale creates sixteen times the total pixel count.
Can AI fix any blurry image?
No. Mild softness, low resolution, noise, and compression may improve. Severe defocus, long motion trails, clipped highlights, and details that occupy too few source pixels cannot be restored reliably. Use the blur diagnosis guide before choosing a correction.
Is AI always better than bicubic enlargement?
No. Bicubic resizing is controlled and often adequate for small changes. AI is useful when apparent detail also needs improvement, but it introduces the risk of generated artifacts. Compare both for accuracy-sensitive work.
Summary
Traditional resizing calculates new pixels from the existing grid. AI super-resolution uses learned image patterns to predict a more detailed larger result. That can make photos and illustrations look clearer, especially at 2x or 4x, but the model may also invent or alter fine detail.
Determine the required output first, start from the best source, choose the smallest useful scale, and inspect the result at 100%. When accuracy matters, treat the original as the record and the AI output as a processed derivative. You can begin by comparing original-size, 2x, and 4x enhancement.