How to Enlarge an Image Without Blur: Interpolation vs AI
Learn how to enlarge an image without making it blurry. Compare nearest-neighbor, bicubic, and AI upscaling, then choose the right method for photos, artwork, text, and pixel art.
 Image Enhancer Editorial Team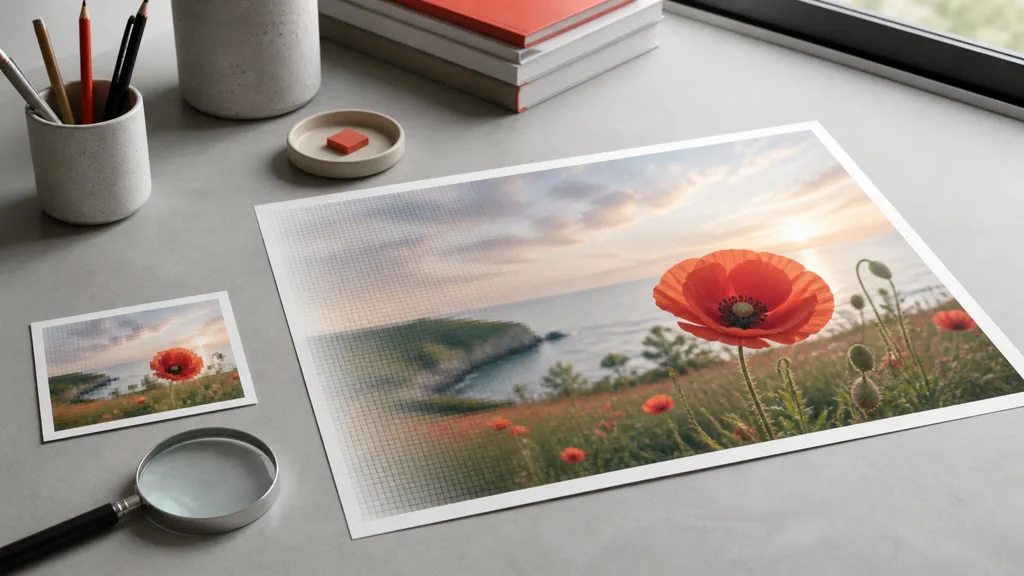
To enlarge an image without making it unnecessarily blurry, choose an upscaling method that matches the source and the final use. A photograph enlarged several times with conventional interpolation may become soft, while pixel art enlarged with a smoothing algorithm can lose its deliberate hard edges.
AI upscaling is generally useful when you want to enlarge a photo or illustration and improve its apparent detail. Bicubic and other conventional methods work well for modest size changes, while nearest-neighbor is the usual choice for pixel art. This guide explains the differences and gives you a repeatable workflow for cleaner enlargements.
Quick answer: match the method to the image
Use this table as a starting point.
| Image or goal | Recommended method | Main caution |
|---|---|---|
| Enlarge a photo by 2x or 4x | AI upscaling | Inspect generated details in faces and text |
| Make a small increase to a photo | Bicubic or detail-preserving resampling | Large increases can still look soft |
| Logo, line art, or text image | Original vector file or edge-aware upscaling | Do not trust AI to reproduce tiny text exactly |
| Pixel art | Nearest-neighbor at an integer scale | Smoothing will blur the pixel grid |
| Reduce an image for the web | Downsampling-oriented bicubic method | Add only mild output sharpening afterward |
No method can fully recover information that was never captured. Increasing pixel dimensions and restoring authentic detail are different goals, and the result should be judged accordingly.
Why images become blurry when enlarged
A raster image is a grid of colored pixels. If an 800 x 600px image is doubled in width and height, it becomes 1,600 x 1,200px. The total pixel count becomes four times larger, so the software must calculate colors for pixels that did not exist in the source.
This process is called interpolation or resampling. A smoothing method blends nearby colors to reduce jagged edges, but that blending can soften contours. A method that simply repeats source pixels preserves hard boundaries, but it makes photographs look blocky.
Existing defects also grow with the image. Missed focus, camera shake, JPEG artifacts, and noise become more visible after enlargement. Check the source before choosing the scaling method.
How conventional interpolation methods differ
Nearest-neighbor
Nearest-neighbor copies the value of the closest source pixel. Colors are not blended, so it is well suited to pixel art, retro graphics, and some diagrams with deliberately hard boundaries. Scaling by whole numbers such as 2x, 3x, or 4x helps preserve the original pixel pattern.
It is rarely suitable for photography because diagonal lines become stepped and areas of color turn into obvious blocks.
Bilinear
Bilinear interpolation calculates a new color from nearby pixels. It is fast, but enlarged photographs can look softer than with more advanced methods. It remains useful when processing speed matters more than maximum output quality.
Bicubic
Bicubic interpolation examines a larger surrounding area and usually produces smoother tonal transitions. It is a common general-purpose choice for photographs. Editing applications may offer separate variants for smoother enlargement and sharper reduction.
Adobe Photoshop, for example, lists Preserve Details 2.0 and Bicubic Smoother for enlargement, and Bicubic Sharper for reduction. Choose according to the direction of the resize rather than assuming one algorithm is best for every operation.
Lanczos and other high-quality filters
Some applications offer Lanczos or similar filters. They can preserve fine detail well, but strong edges may develop ringing or light and dark outlines. Compare edges, texture, and noise at 100% instead of choosing only by the algorithm name.
How AI upscaling differs
Conventional interpolation derives new pixel values mainly from nearby source pixels. AI upscaling analyzes recognizable image features and estimates how edges, textures, and noise should look at a larger size. The output may therefore appear more detailed than a conventionally resampled image at the same dimensions.
The tradeoff is that AI-generated detail is not guaranteed to match what was present when the image was captured. Eyes, teeth, product labels, signs, diagrams, and small text can change. Compare the result with the original whenever accuracy matters, especially for records, evidence, medical material, or technical documentation.
Adobe Camera Raw describes Super Resolution as doubling both the width and height of an image, producing four times the total pixel count. Even with an AI feature, assess output dimensions and apparent detail separately.
A reliable workflow for enlarging an image
1. Determine the required pixel dimensions
For a website or social platform, check the destination width and height in pixels. For print, use the final physical size and the printer's requested ppi. Unnecessary enlargement increases file size and processing time, and it can make noise and compression defects more visible.
For common print dimensions, use the print-resolution pixel chart.
2. Find the largest, least-compressed source
Images downloaded from email, messaging apps, or social media may have been resized and compressed automatically. Look for the camera original, the working PNG or PSD, or a higher-resolution licensed asset.
Starting from an original file usually produces a cleaner result than upscaling a JPEG that has already been saved several times.
3. Use the smallest scale that meets the goal
If a 1,000px-wide image needs to become 1,800px wide, 2x is enough. Upscaling by 4x and then reducing can occasionally help, but it does not guarantee better quality. Compare the smallest scale that satisfies the required output dimensions first.
The AI image upscaler offers original-size enhancement, 2x, and 4x output so you can match the scale to the destination.
4. Select a mode suited to the source
Photographs need natural skin and texture, while illustrations depend on clean lines and flat color boundaries. Text images require accurate character shapes. Choose the closest available content mode and avoid applying several aggressive adjustments at the same time.
5. Compare at 100% and at the final display size
At 100%, check that:
- edges do not have bright or dark halos;
- hair, grass, and fabric do not contain repeated or invented patterns;
- faces, fingers, text, and logos have not changed shape;
- skies and skin have not gained grain, blotches, or banding;
- the output has the required width and height in pixels.
Then view the result at its actual website, screen, or print size. A file that appears slightly soft at 100% may look natural at the intended size.
6. Export a separate final file
Use a high-quality JPEG or WebP for photographs and PNG for text, line art, or transparency. Keep the original, the upscaled working file, and the final delivery file separate. Repeated JPEG saves compound compression damage, so create the delivery JPEG only after editing is complete.
Tips by image type
Photographs
Heavy sharpening before enlargement can emphasize noise and JPEG edges. A practical order is mild noise reduction, enlargement, final sizing, and restrained output sharpening. On portraits, check not only the eyes and hair but also whether the skin has become unnaturally smooth or plastic-like.
Illustrations and comics
Use a mode that preserves line art and color boundaries. If the source has transparency, confirm that the PNG alpha channel survives the workflow. Try a different scale or mode if thin lines break, line weight changes, or screentones develop moire patterns.
Logos, text, and diagrams
If a vector source exists, export again from SVG, AI, or PDF instead of upscaling a raster preview. When only a raster file is available, proofread every character after processing. Rebuilding critical logos, labels, or numbers manually may be more accurate than AI reconstruction.
Pixel art
Use nearest-neighbor at a whole-number scale and disable antialiasing and automatic sharpening. AI upscaling may redraw the pixels, so it is not appropriate when the original pixel design must remain intact.
Add only mild sharpening at the end
Sharpening increases contrast along edges to make details appear clearer. It does not restore missing detail or repair severely missed focus.
Adobe recommends applying sharpening gradually to avoid halos, jagged edges, and noise. Set the final output dimensions first, judge the effect at 100%, and reduce the amount if bright outlines begin to appear around edges.
Common mistakes
Stretching the image in a browser or document
Making the display box larger does not increase the source pixel count. Resize the image to the required dimensions in an image tool first, then place the exported file.
Changing 72 ppi to 300 ppi without resampling
Changing only the ppi metadata does not create pixels. For screens, inspect the width and height in pixels. For print, check effective ppi at the final physical size.
Repeating enlargement and sharpening
Multiple passes can accumulate halos, noise, and artificial texture. Return to the original, resize once to the target dimensions, and sharpen only as much as the final output needs.
Assuming AI will reproduce text accurately
AI may estimate tiny text as different shapes. Never assume unreadable text has been recovered correctly; verify it against the original or another reliable source.
Frequently asked questions
Does doubling an image double its quality?
No. Doubling the width and height creates four times as many pixels, but apparent quality does not improve by a fixed numerical amount. The source blur, noise, compression, subject, and upscaling method all affect the result.
Can I enlarge an image without blur on a phone?
Yes. A browser-based AI upscaler can run on a phone. For important print or client delivery, also inspect the downloaded file on a larger display where 100% comparison is easier.
Can I enlarge a tiny image beyond 4x?
You can apply more than one enlargement, but repeated processing may add invented or unnatural detail. Look for a larger source first and process only to the size required by the final use.
Should I use a free resizer or AI upscaling?
A conventional resizer is enough for a modest dimension change. Compare AI upscaling when a low-resolution photo or illustration needs a substantial increase and better apparent edge or texture detail. Keep the original whichever method you choose.
Summary
To enlarge an image without unnecessary blur, do not process photos, illustrations, text, and pixel art with the same method. Use AI for substantial enlargement of general photos and artwork, bicubic resampling for modest size changes, and nearest-neighbor for pixel art.
Choose the final dimensions first, apply the minimum useful scale, and inspect faces, text, and edges at 100%. You can then compare conventional resizing with original-size, 2x, and 4x AI enhancement.