Increase Image Resolution on Windows: Built-In vs AI
Learn how to increase image resolution on Windows with Paint, Photos, PowerToys, or AI, then compare pixel size, image detail, privacy, and batch use.
 Image Enhancer Editorial Team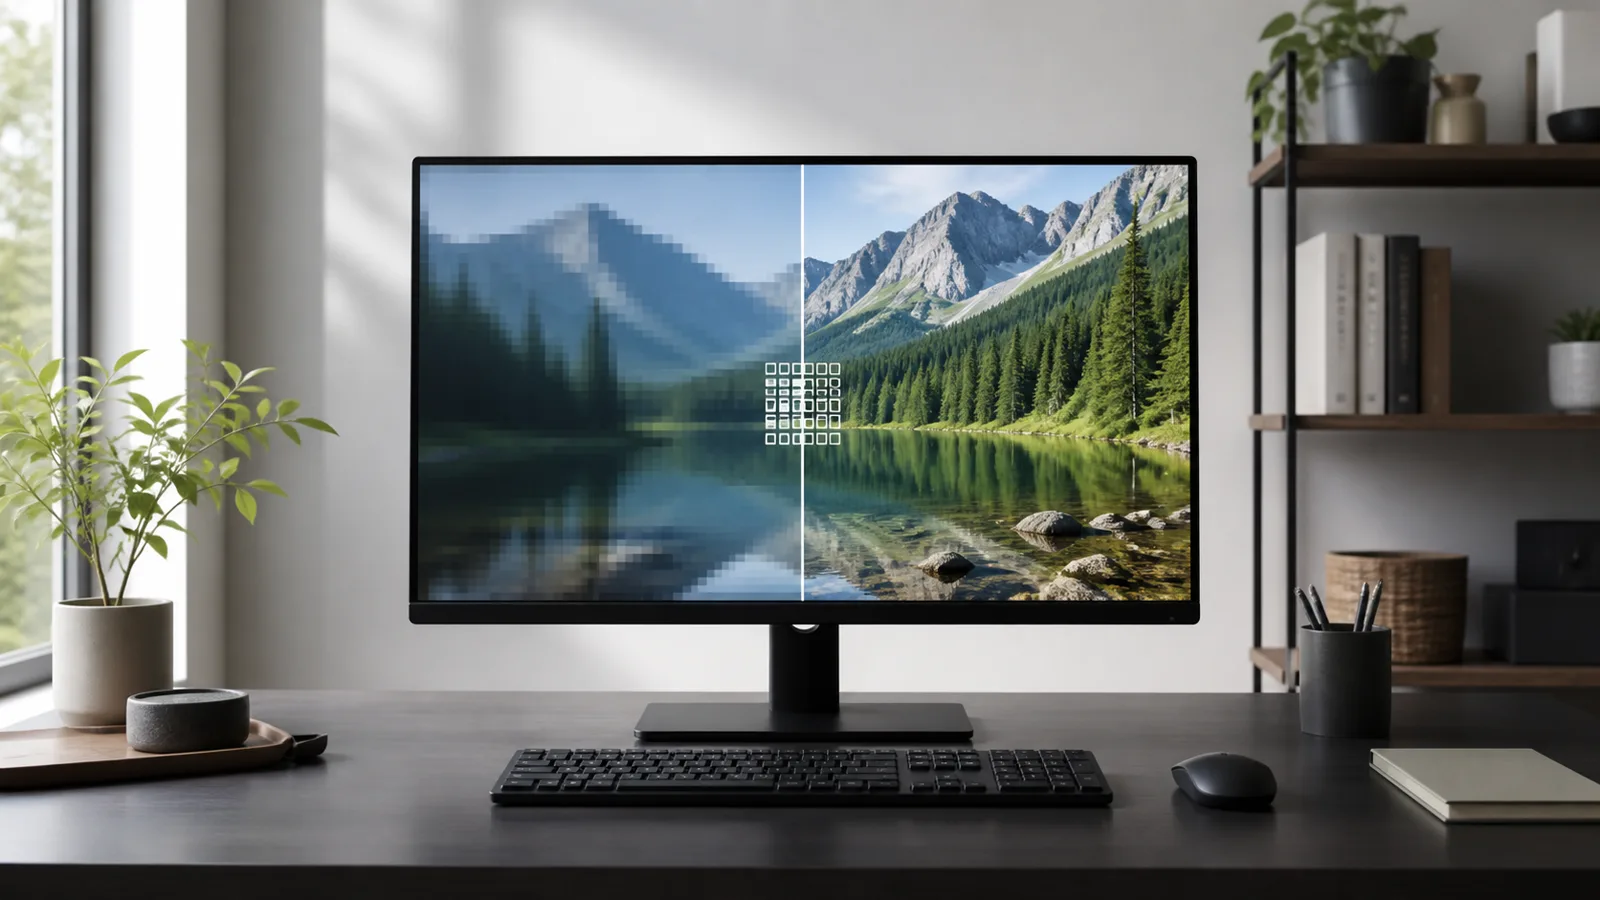
To increase image resolution on Windows, first decide whether you need more pixels, a sharper-looking photo, or both. Paint and PowerToys can change width and height reliably, but ordinary resizing estimates new pixels from neighboring ones. Microsoft Photos can apply AI super resolution on a compatible Copilot+ PC, while a browser-based AI tool works on a wider range of Windows computers.
The best method is therefore not simply the one with the largest scale. Start from the highest-quality source, calculate the output dimensions required by the destination, and compare the smallest useful enlargement at 100%. Keep the original file untouched throughout the process.
Quick answer: choose the Windows method by purpose
| Need | Recommended method | What it actually does |
|---|---|---|
| Set exact dimensions for one image | Paint | Resamples the image to a chosen pixel size |
| Resize many files consistently | PowerToys Image Resizer | Creates resized copies from File Explorer |
| Enhance locally on supported hardware | Photos Super resolution | Uses local AI on a Copilot+ PC |
| Improve a small or compressed source on most PCs | Browser AI | Reconstructs a larger, sharper-looking result |
Changing the Windows display resolution under Settings does not change an image file. That setting controls how the monitor displays the desktop. Image resolution is measured by the file's own width and height in pixels.
Step 1: inspect the source before enlarging it
In File Explorer, right-click the image, open Properties, and check Details for its dimensions. Also compare the filename, file size, and date with other copies. A 4000-pixel camera original is a better source than a 1200-pixel copy downloaded from a chat, even if they appear equally sharp in a small preview.
Make a working copy before editing. Avoid screenshots as a conversion or recovery method: a screenshot records the current display output, not the original file's full pixels, metadata, or color information. If the image came from cloud storage, email, a phone, or a camera card, retrieve the original before asking software to invent missing detail.
Next, calculate the target. If a 1400 x 1000 source must fill a 2800 x 2000 placement, 2x is enough. A 4x result would be 5600 x 4000, or 16 times the source's total pixel count, and may add unnecessary processing, storage, and artifacts. For print, use the print resolution and pixel chart instead of changing a DPI label blindly.
Method 1: resize one image with Paint
Paint is suitable when the source already looks good and you only need exact pixel dimensions.
- Duplicate the image in File Explorer.
- Right-click the copy and choose Open with > Paint.
- Select Resize and skew or press
Ctrl+W. - Choose Pixels rather than Percentage.
- Keep the aspect ratio enabled and enter the required width or height.
- Use File > Save as and give the result a new name.
Paint increases the dimensions through conventional resampling. It does not know what an unreadable sign, an out-of-focus eye, or compressed hair originally looked like. Enlarging a 600-pixel image to 2400 pixels can make it easier to place in a layout, but the new file may still look soft because no new factual detail was captured.
Choose JPEG for ordinary photos when file size matters, and PNG for screenshots, line art, flat graphics, or transparency. Repeated JPEG saves can accumulate compression damage, so return to the original copy when testing another size. A separate guide will cover Paint's resize controls in depth; this article keeps Paint in context with the other Windows choices.
Method 2: use Super resolution in Microsoft Photos
Microsoft Photos includes Super resolution on Copilot+ PCs running Windows 11. Microsoft states that it can enlarge images at levels such as 1x, 2x, 4x, or 8x, display a before-and-after comparison, and run the model locally on the device.
- Open the image in Photos.
- Select Edit, then Super resolution.
- Choose the lowest level that reaches the target size.
- Compare the preview around faces, text, fine lines, and repeated textures.
- Save a copy rather than replacing the source.
This option is not available on every Windows 11 computer. Microsoft documents it as exclusive to Copilot+ PCs, and it is not a general Windows 10 feature. If the command is missing, update Photos and Windows, then verify the computer class; otherwise use Paint for standard resizing or a browser AI workflow.
Local processing can be useful for private material, but AI enhancement still requires visual verification. A sharper result is not proof that reconstructed text or facial detail is historically accurate.
Method 3: batch resize with PowerToys Image Resizer
Microsoft PowerToys adds Image Resizer to File Explorer. It is practical when many product images, thumbnails, or delivery files need the same maximum dimensions.
- Install PowerToys from an official Microsoft source.
- Select one or more image files in File Explorer.
- Right-click and choose Resize with ImageResizer.
- Select or create a pixel preset.
- Use Fit when the whole image must remain visible.
- Keep the original files and create resized copies.
Microsoft defines the modes differently: Fit preserves the whole image without cropping, Fill may crop to occupy the target box, and Stretch can distort the aspect ratio. For mixed portrait and landscape files, inspect the orientation option before processing the complete set. Test three representative files first, then check the resulting dimensions and crops.
PowerToys is a resizing workflow, not a recovery engine. It is efficient for consistent outputs, but it will not remove severe JPEG blocks or reconstruct missing texture. Process images with AI first only when improvement is necessary, approve those results, and then make delivery sizes from the approved master.
Method 4: increase resolution with browser AI
For an ordinary Windows PC without Photos Super resolution, open the image enlarger in a current browser and choose the original JPG, PNG, or WebP file.
- Use original-size enhancement when pixel dimensions are sufficient but mild noise or compression needs attention.
- Start with 2x when the required width and height are no more than double the source.
- Compare 4x only when a crop, large display, or print genuinely requires it.
Keep the browser tab open while processing, download the result to a new filename, and inspect the actual file rather than relying only on a fitted web preview. Browser-based processing may upload the image to a service, so do not submit confidential records, IDs, medical images, or content you are not authorized to process. Review the site's privacy information first when the material is sensitive.
How to compare standard resizing and AI fairly
Create both outputs from the same original and give them the same final dimensions. Then view them at 100% on the same monitor. Compare:
- eyelashes, hair, hands, and jewelry;
- signs, small labels, diagrams, and thin lines;
- fabric, foliage, roof tiles, and repeating patterns;
- halos around high-contrast edges;
- plastic-looking skin or invented texture;
- JPEG blocks, color banding, and changed line weight.
Finally, evaluate the result at its actual delivery size. Standard resizing may be preferable for diagrams and records because it does not attempt to reinterpret content. AI may look better for natural photographs, but a plausible detail is not necessarily a true detail. If the source is blurred by motion or missed focus, diagnose that problem with the blurry-photo guide before adding more pixels.
Common Windows mistakes
Changing display resolution instead of file dimensions
Settings > System > Display changes the monitor, not the image. Check the file's width and height in pixels.
Enlarging the same JPEG several times
Each save and resize works from the damage created by the previous pass. Return to the untouched source for every comparison.
Using Stretch for a batch
Stretch can change proportions. Use Fit unless distortion is intentional, or Fill only when cropping is acceptable.
Assuming every Photos installation has AI enlargement
Super resolution requires a Copilot+ PC. The ordinary Photos editor and the cloud-based Designer integration are not the same feature.
Approving only the fitted preview
A downscaled preview can hide halos, false text, and repeated texture. Inspect at 100%, then at final use size.
Frequently asked questions
Can Windows increase image resolution without installing software?
Yes. Paint is built into Windows for conventional resizing, and a browser tool can perform AI enlargement without installing a desktop application. Browser processing may upload the file, while Photos Super resolution runs locally on compatible Copilot+ PCs.
Does Paint improve photo quality when it enlarges an image?
Paint creates the requested number of pixels through standard resampling. It can preserve a clean source reasonably for moderate size changes, but it does not reconstruct missing detail like an AI method.
Is Windows 10 able to enhance images with Photos Super resolution?
Microsoft currently documents Super resolution as a Windows 11 feature exclusive to Copilot+ PCs. On Windows 10, use Paint for size changes or a compatible browser tool for AI enhancement. Microsoft ended support for Windows 10 on October 14, 2025, so avoid relying on new Photos features there.
Should I choose 2x, 4x, or 8x?
Choose the smallest output that meets the destination. A 2x enlargement is the sensible first comparison for most moderate needs. Larger scales create many more pixels and make reconstruction errors easier to notice.
Does changing DPI make a Windows image sharper?
Not by itself. DPI or PPI metadata only describes how existing pixels map to physical size. A print needs enough width and height in pixels for the chosen dimensions.
Summary
To increase image resolution on Windows, recover the best source, measure its pixels, and match the method to the job. Use Paint for one exact standard resize, PowerToys for repeatable batches, Photos Super resolution on a compatible Copilot+ PC, or AI image enlargement when a low-resolution photo needs reconstructed detail. Compare identical output sizes at 100%, preserve the original, and treat generated details as an interpretation rather than evidence. For the broader desktop workflow, see how to increase image resolution on a PC.