Increase Image Resolution in Paint Without Extra Blur
Learn how to increase image resolution in Paint with exact pixels, preserve aspect ratio, avoid common blur and distortion, and know when AI works better.
 Image Enhancer Editorial Team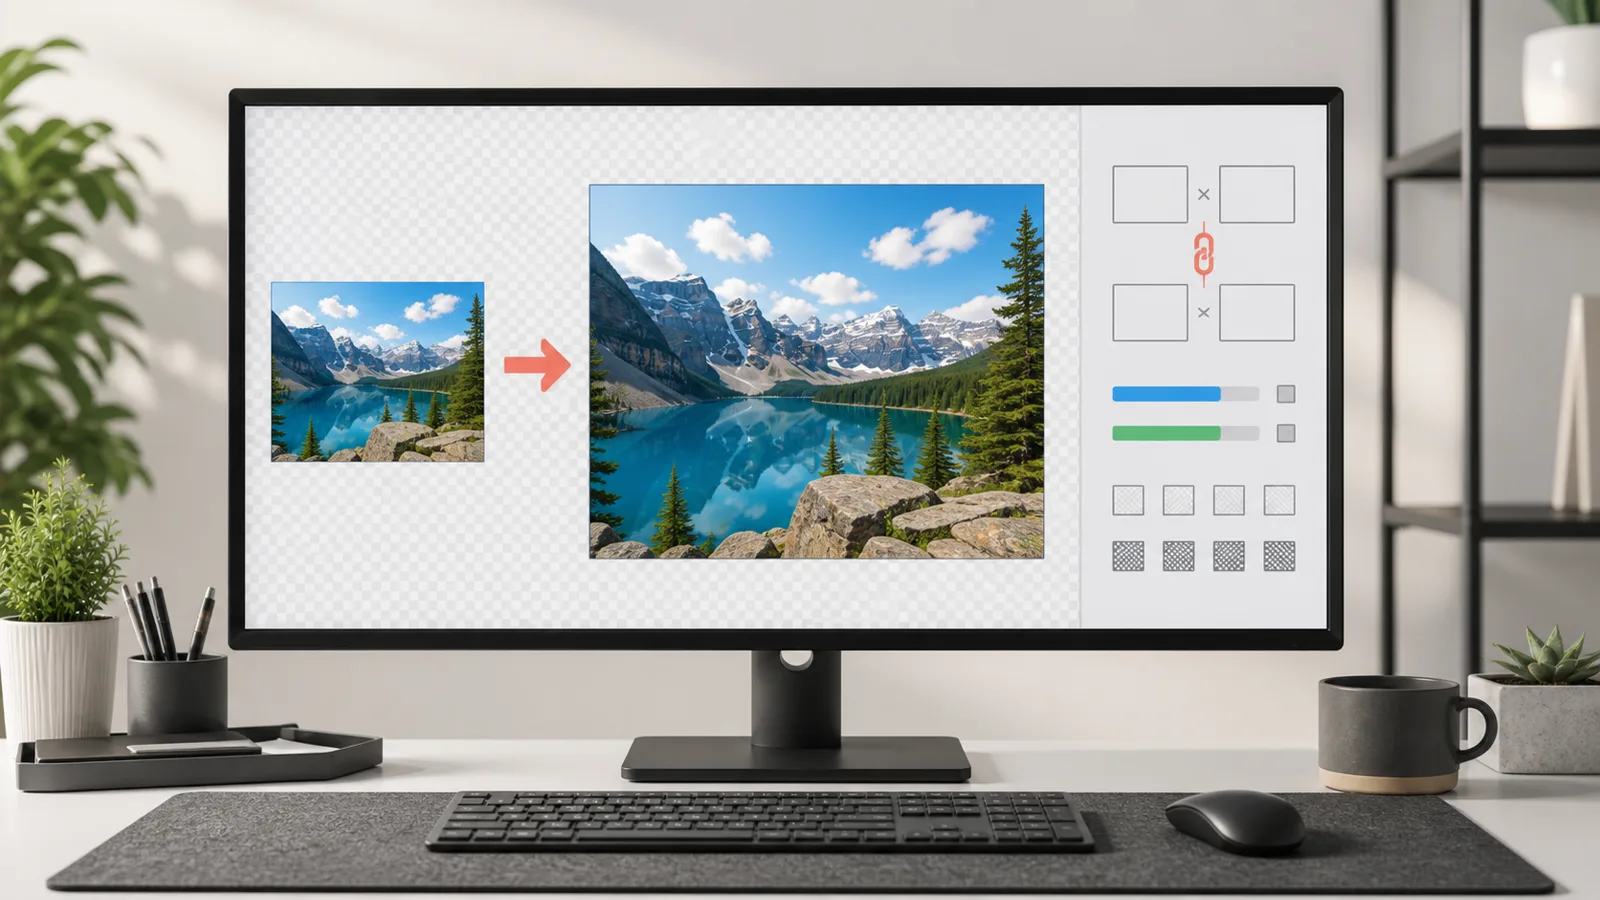
You can increase image resolution in Paint by entering a larger width or height in pixels, but Paint cannot recover detail that the original image never recorded. Its resize command creates the additional pixels through standard resampling. The file becomes larger in pixel dimensions, while a small, blurred, or heavily compressed source may still look soft.
Paint is the right choice when an image is already clean and you need an exact size quickly. For a low-resolution photo that must also look clearer, compare Paint with AI at the same final dimensions. This guide explains how to resize correctly, why enlarged images sometimes blur, and how to save without avoidable damage.
Quick answer: resize a copy in pixels
- Find the highest-resolution original and duplicate it.
- Open the copy in Paint.
- Select Resize and skew or Resize, depending on the Paint version.
- Choose Pixels.
- Keep the aspect ratio locked.
- Enter the required width or height.
- Save the result under a new filename.
- Inspect it at 100% and at the final use size.
| Source and purpose | Paint recommendation | Expected result |
|---|---|---|
| Clean image, small size change | Resize once to exact pixels | Predictable dimensions with limited visible change |
| Pixel art or hard-edged icon | Test carefully at an integer scale | Paint may still soften edges because interpolation is not selectable |
| Tiny or compressed photograph | Compare Paint and AI | AI may look clearer but can reconstruct inaccurate detail |
| Print with only a DPI requirement | Calculate pixels first | Changing metadata alone does not create image detail |
Step 1: confirm the original pixel dimensions
In File Explorer, right-click the image, choose Properties, and check Details for width and height. Compare every available copy before resizing. A 4032 x 3024 camera original contains far more source information than a 1280-pixel image saved from a message, even when both appear similar in a small preview.
Avoid starting from a screenshot of the image. A screenshot captures the current screen output and crop, not necessarily the original file's full pixels, metadata, or color information. Retrieve the source from the camera, phone, cloud drive, email attachment, or sender whenever possible.
Create a duplicate before opening Paint. Use a working name such as photo-working-copy.jpg. This matters because Paint can overwrite the opened file, and every additional JPEG save may introduce more compression.
Step 2: calculate the size you actually need
Write down the destination in pixels rather than choosing a large percentage by instinct.
- A 1200 x 800 source placed at 2400 x 1600 needs 200%, or 2x.
- The same source enlarged to 4800 x 3200 needs 400%, or 4x.
- Doubling both dimensions creates four times as many total pixels.
- Quadrupling both dimensions creates 16 times as many total pixels.
More output pixels increase memory and file size without making the photographed scene more truthful. Choose the smallest dimensions that meet the website, presentation, wallpaper, crop, or print requirement.
For print, multiply the desired width in inches by the requested pixels per inch. An 8-inch print at 300 ppi needs 2400 pixels across. Use the print resolution chart for common paper sizes instead of treating 300 dpi as a universal button.
Step 3: open the correct Resize dialog
Open the duplicated file in Paint. In current Paint versions, select the resize command in the Image area of the toolbar; the exact label may appear as Resize and skew or Resize. The Ctrl+W shortcut commonly opens the same dialog.
Do not drag the small canvas handles around the drawing area to enlarge the image. Changing the canvas adds or removes workspace around the picture; it does not resample the image content to a larger pixel grid. Use the Resize dialog for the whole image.
Choose Pixels, not Percentage, when the destination has an exact requirement. Percentage is useful only when the ratio is already known. Pixel entry prevents rounding surprises and makes the result easy to verify in File Explorer.
Step 4: keep the aspect ratio locked
Enable Maintain aspect ratio or the equivalent linked-dimensions control. Enter either width or height and let Paint calculate the other value.
For example, a 1600 x 1200 image has a 4:3 aspect ratio. Entering a width of 3200 should produce a height of 2400. Entering 3200 x 2000 with the ratio unlocked stretches the subject: circles become ovals, faces widen, and product proportions become inaccurate.
If the destination requires a different aspect ratio, do not distort the photo. Crop a duplicate to the target ratio first, then resize that crop. Cropping discards pixels, so calculate the remaining source size before choosing 2x or 4x.
Step 5: enter the target pixels and resize once
Enter the calculated width or height, confirm that the linked dimension is correct, and apply the change. Avoid increasing the same file in several small steps. Resizing 1000 pixels to 1500, then 2000, then 3000 makes every pass interpret pixels created by the previous pass.
Instead, return to the untouched copy and create each comparison directly:
- original to target size in one Paint resize;
- original to the same target size in an AI tool;
- optional smaller target if the first choice was unnecessarily large.
Paint does not provide a choice among nearest-neighbor, bicubic, or other interpolation methods in its ordinary resize dialog. That simplicity is convenient, but it means you cannot tune the sampler for photographs, line art, and pixel art separately. If interpolation control matters, a fuller editor such as GIMP is more suitable.
Why an image enlarged in Paint becomes blurry
A raster image is a fixed grid of recorded color samples. When Paint increases its width and height, it must estimate colors for positions that did not exist in the source. The result can become soft for several reasons:
The source is too small
A 400 x 300 thumbnail contains only 120,000 pixels. Enlarging it to 1600 x 1200 creates 16 times as many output pixels, but it cannot reveal eyelashes, lettering, or texture absent from the thumbnail.
JPEG damage is enlarged too
Blocks, ringing around edges, mosquito noise, and color smearing become easier to see after resizing. Converting the damaged JPEG to PNG prevents another lossy save but does not undo the existing damage.
The subject was blurred before resizing
Motion blur, missed focus, and camera shake are not resolution problems. Standard resizing makes the blur larger. Diagnose these cases with the blurry-photo guide.
The preview is not at 100%
Paint or another viewer may scale the image again to fit the window. Inspect at actual size before deciding whether the exported pixels are genuinely soft.
Save the resized image without extra damage
Use File > Save as and choose a new filename such as photo-2400px.jpg. Do not replace the only original.
Choose the format by content:
- JPEG suits ordinary photographs and smaller delivery files. Avoid repeated editing and saving.
- PNG suits screenshots, text, line art, flat graphics, and transparency. It can produce much larger photo files.
- WebP is efficient for web delivery when the Paint version and destination support it.
- BMP is usually unnecessarily large for delivery and does not improve a previously compressed source.
Changing an extension manually is not a reliable conversion. Select the format in Save as and then verify that the result opens correctly. Check its pixel dimensions and file size in File Explorer before sending it.
Paint versus AI image enlargement
Paint and AI solve different problems. Compare them at identical output dimensions.
| Criterion | Paint | AI enlargement |
|---|---|---|
| Exact output pixels | Yes | Usually through fixed scales or target controls |
| Missing-detail reconstruction | No | Creates plausible detail from learned patterns |
| Predictability for diagrams and records | Higher | Must be checked for altered content |
| Privacy | Local desktop operation | Browser services may upload the file |
Use Paint when the image already looks acceptable and only needs dimensions. Use the AI image enlarger when a low-resolution photograph needs a clearer visual result, but inspect faces, text, product labels, repeated patterns, and fine lines. AI can create convincing details that were not present in the original.
For sensitive records, Paint has the advantage of a local workflow. Before using a browser service, review its privacy information and do not upload confidential or unauthorized material.
A reliable comparison workflow
- Keep one untouched original.
- Make a Paint result directly from that original.
- Make an AI result directly from the same original.
- Ensure both outputs have the same width and height.
- View both at 100% on the same display.
- Check faces, text, thin edges, fabric, foliage, and compression blocks.
- View both again at the actual placement or print size.
- Keep the version that best balances fidelity and appearance.
Standard resizing may be safer for documents, diagrams, pixel measurements, and evidence because it does not reinterpret the subject. AI may look more pleasing for portraits and natural scenes, but its result remains a reconstruction.
Common Paint mistakes
Changing Windows display resolution
Settings > System > Display changes the monitor output, not the image file. Use Paint's Resize dialog and verify file dimensions.
Unlocking the aspect ratio
Independent width and height values distort the subject. Crop when a different frame is required.
Enlarging through canvas size
Canvas handles create blank space; they do not scale the existing picture. Use Resize.
Repeating several resize passes
Each pass works from already interpolated pixels. Return to the original for every target.
Saving over the source JPEG
An overwrite removes the clean comparison and may add compression. Save a separately named result.
Frequently asked questions
Can Paint increase image resolution?
Yes. Paint can increase the file's width and height in pixels through standard resampling. It cannot recreate true detail that was not recorded in the original.
Why does the enlarged image still look pixelated?
The source may be too small or compressed for the chosen target. Paint creates more pixels, but it does not understand the subject well enough to reconstruct missing texture or lettering.
Should I resize by pixels or percentage?
Use pixels when a website, layout, or print calculation specifies dimensions. Use percentage only when you know the exact ratio, such as 200% for 2x.
Does setting an image to 300 DPI in Paint improve quality?
No metadata change can create detail by itself. Calculate the required pixel dimensions for the physical print size. Another planned guide covers the complete 300 dpi workflow.
Is PNG always higher quality than JPEG after resizing?
PNG avoids lossy compression during that save, but converting an already damaged JPEG to PNG does not recover lost data. Choose PNG for graphics and JPEG for photographic delivery when size matters.
Summary
To increase image resolution in Paint correctly, start from the largest original, calculate the destination pixels, lock the aspect ratio, and resize once. Save a separate copy and inspect it at 100%. Paint is fast and predictable for exact dimensions, but it does not add genuine detail or offer interpolation controls. If a low-resolution photo remains soft, compare the same source with 2x or 4x AI enlargement, or use the broader Windows resolution guide to choose among Paint, Photos, PowerToys, and AI.