How to Improve JPEG Quality and Reduce Compression Artifacts
Learn how to improve JPEG image quality, reduce block and ringing artifacts, upscale when needed, and prevent further damage from repeated lossy saves.
 Image Enhancer Editorial Team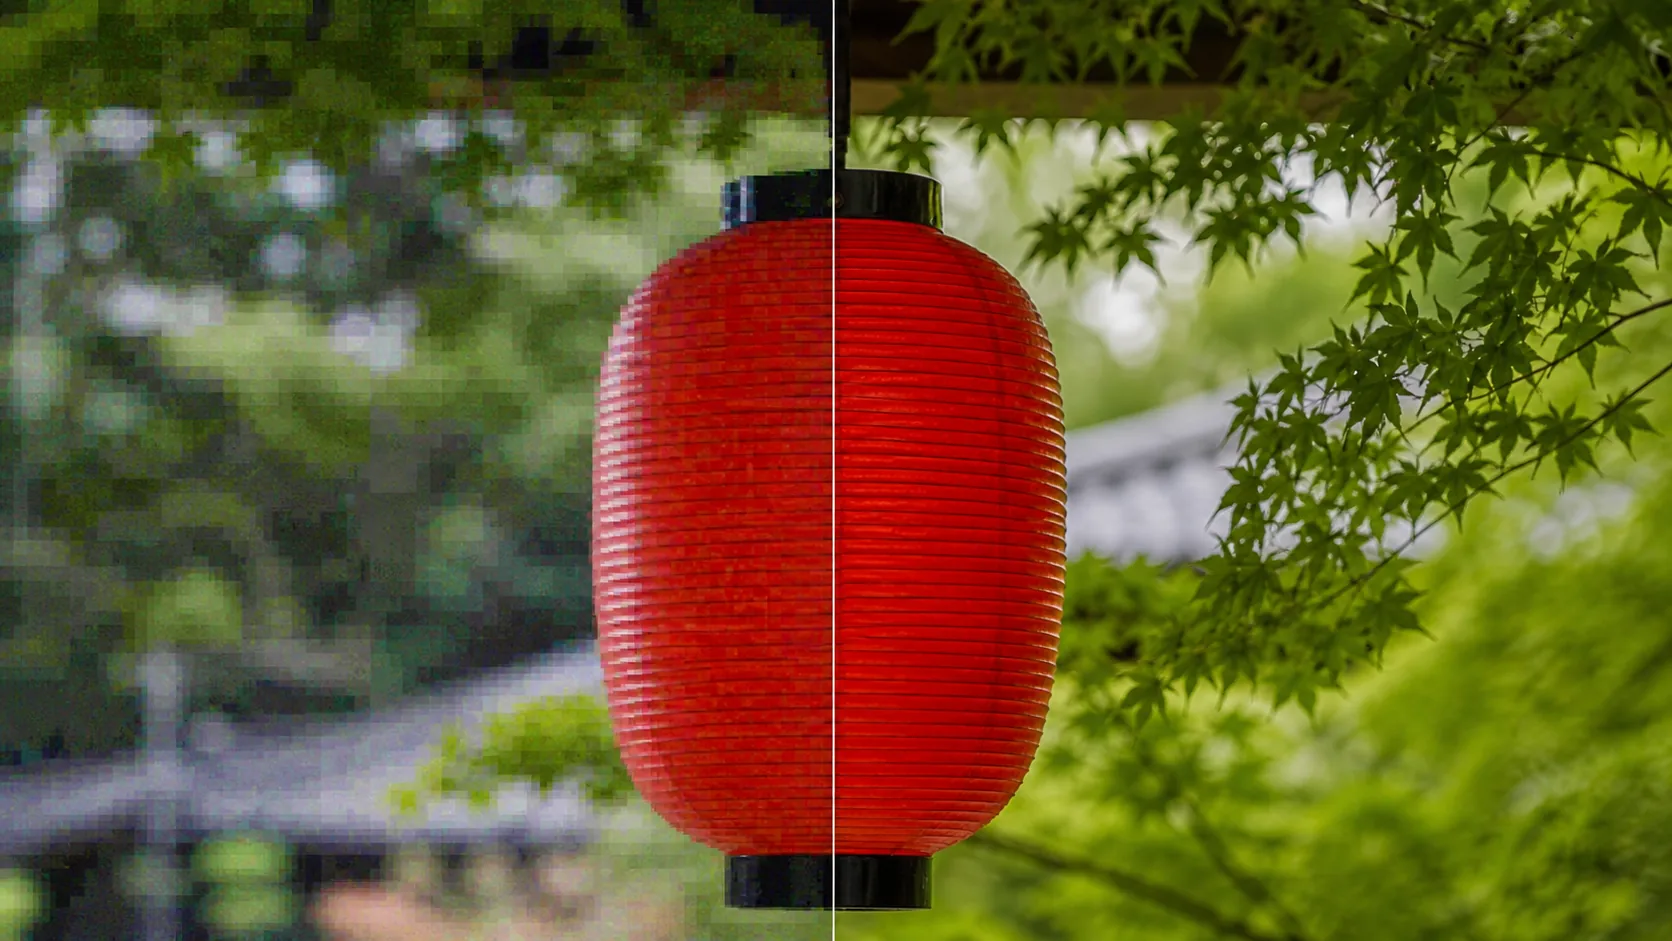
To improve JPEG image quality, first determine whether the main problem is compression damage, insufficient pixel dimensions, or blur that was already present when the photo was captured. These problems need different treatments. Enlarging every JPEG by the maximum amount will not restore authentic detail and can make existing defects more obvious.
A reliable workflow is to find the best available source, inspect it at 100% zoom, reduce obvious JPEG artifacts, upscale only if the intended use requires more pixels, and apply modest output sharpening last. Export the delivery JPEG once instead of repeatedly opening and resaving it.
This guide explains that workflow, including when to use original size, 2x, or 4x processing. JPEG and JPG refer to the same image format; the shorter extension is a historical filename convention.
Quick diagnosis: identify the defect before editing
| What you see | Likely cause | Start with |
|---|---|---|
| Square patterns or ripples around edges | Heavy JPEG compression or repeated saves | Compression artifact reduction |
| Looks fine small but coarse when enlarged | Insufficient pixel dimensions | 2x or 4x upscaling |
| Soft edges across the image | Mild focus error, lens softness, or reduction | Careful sharpening |
| The subject is smeared in one direction | Camera shake or subject motion | Motion-deblur tools, with limited expectations |
| Colored speckles in dark areas | High ISO or underexposure | Noise reduction |
If a small image also has strong compression artifacts, reduce the most distracting blocks and edge noise before enlarging it. Otherwise, an upscaler may make those defects larger or interpret them as texture.
Why JPEG quality deteriorates
JPEG uses lossy compression to make photographs significantly smaller. During export, it discards some image information. Stronger compression usually produces a smaller file but removes more information, and the exact original cannot be reconstructed from the compressed file.
Typical JPEG artifacts include:
- block patterns in skies, walls, and other smooth areas;
- ripples or mosquito noise around text and high-contrast edges;
- color bleeding around red and blue boundaries;
- lost texture in hair, grass, fabric, and foliage; and
- banding where a smooth gradient separates into visible steps.
Opening a JPEG, editing it, and saving it as JPEG again can add another generation of lossy compression. Adobe recommends working from the original rather than an existing JPEG when possible because each save can introduce further degradation.
JPEG is not inherently a poor format. It is efficient for photographs and continuous-tone imagery. It is less suitable for screenshots, diagrams, logos, sharp text, and images that need transparency. PNG is often a better delivery format for those assets.
Step 1: find the best source image
Before enhancing anything, look for a larger or less compressed copy. Check the camera or phone library, cloud backups, project files, the original photographer, or the source from which an asset was licensed.
Images saved from social media, messaging apps, email bodies, search-result thumbnails, and web pages may already have been resized and compressed. Recovering the original is more accurate than asking software to estimate information from a damaged copy.
If no better source exists, duplicate the current JPEG and preserve the untouched file. That gives you a reliable point to return to if artifact reduction, denoising, or sharpening becomes too strong.
Step 2: inspect the image at 100% zoom
View the image at 100%, where one image pixel maps to one screen pixel. Fit-to-window previews can hide compression artifacts and make aggressive enhancement look cleaner than it really is.
Inspect several types of detail:
- eyes, teeth, hair, hands, and skin;
- labels, signs, and small lettering;
- straight edges on buildings, furniture, and products;
- smooth skies, walls, shadows, and defocused backgrounds; and
- repeating texture such as grass, leaves, fabric, brick, and sand.
Separate compression damage from insufficient dimensions and capture blur. If the existing width and height already satisfy the destination, original-size restoration may look more natural than upscaling.
Step 3: reduce JPEG artifacts first
Look for controls named Remove JPEG Artifacts, Compression Artifact Reduction, Denoise, or similar. Start with a weak setting. Adobe describes JPEG artifacts as block patterns, blurred detail, and wavelike distortion caused by heavy compression.
Excessive artifact removal erases legitimate texture. Skin can become plastic, hair can merge into broad shapes, and letterforms can lose their edges. Judge the result at 100% and use the lowest strength that makes the defects acceptable.
When using an AI enhancer, compare restoration at original size with an enlarged result. If the current pixel dimensions are already sufficient, creating extra pixels is unnecessary. The goal is a useful output, not the largest possible file.
Step 4: upscale only to the dimensions you need
Determine the required pixel dimensions from the website, marketplace, presentation, or print specification. Then choose the smallest scale factor that meets them. The online image enhancer accepts JPEG, PNG, and WebP files and offers original-size, 2x, and 4x processing.
Use original size for restoration only
Choose original size when the image already fits its destination and you mainly want to reduce compression noise or mild softness. Enlarging an image that already exceeds a website's display area can increase transfer size and expose synthetic detail without improving what visitors see.
Start with 2x for moderate enlargement
If the source width and height are roughly half of the required dimensions, begin with 2x. An 800 x 600 px image becomes 1,600 x 1,200 px, so its total pixel count becomes four times larger. This is often a more restrained choice than 4x for web assets and small prints.
Compare 4x only when the output requires it
Use 4x when a genuinely small source must fill a much larger area. A 400 x 300 px file becomes 1,600 x 1,200 px. However, software cannot recover text, facial features, or patterns that were never recorded. An AI model estimates plausible detail, so compare the 2x and 4x versions at 100% and reject invented or distorted features.
Our guide to enlarging images without blur explains the differences between conventional interpolation and AI upscaling in more detail.
Step 5: apply output sharpening last
If the enlarged image still looks slightly soft, add modest sharpening after the final dimensions are set. Sharpening increases local contrast near edges. It does not restore missing information.
White or dark outlines around objects indicate oversharpening. Check faces, lettering, and straight architectural edges, then reduce the strength until the image looks natural both at 100% and at its intended display size. Avoid cycling between strong denoising and sharpening, which tends to produce waxy areas beside brittle edges.
Severe focus blur or long motion streaks are different problems. Review the cause-specific options in how to sharpen blurry photos rather than relying on JPEG cleanup alone.
Step 6: export once in the right format
Keep an editable master in the application's native format, TIFF, or PNG so later revisions do not add another JPEG generation. Create the delivery JPEG only after cropping, color adjustments, resizing, and sharpening are complete.
| Content | Suitable output | Why |
|---|---|---|
| General photography | JPEG or WebP | Efficient balance of appearance and file size |
| Text, charts, logos, and line art | PNG | Avoids JPEG noise around sharp edges |
| Transparent background | PNG or WebP | JPEG does not preserve transparency |
| Editable master | Project format, TIFF, or PNG | Avoids repeated JPEG compression |
A higher JPEG quality setting generally discards less information and creates a larger file. Saving an already damaged JPEG at maximum quality does not restore what was lost; it only helps limit additional damage during that export.
Seven ways to prevent another loss of quality
- Preserve the untouched camera or phone original.
- Do not use repeated JPEG saves as an editing workflow.
- Complete cropping, color work, resizing, and sharpening before export.
- Match the dimensions recommended by a service that will recompress uploads.
- Export text and line art as PNG or from the original vector source.
- Transfer originals as files or cloud links instead of through a messaging app's photo mode.
- Return to the original when testing another model, strength, or scale.
Social platforms and content management systems may resize or recompress an upload. A huge maximum-quality JPEG is not always the best input. Supplying the dimensions and file size expected by the destination can produce a more predictable final display.
Frequently asked questions
Does converting JPEG to PNG improve quality?
Conversion alone cannot restore discarded information. PNG prevents another JPEG compression step during later edits, but existing blocks and color smears remain. Correct the image first, then use PNG as an intermediate master when appropriate.
Will JPEG quality 100 restore the original?
No. A high quality setting reduces the information discarded during the new export. It cannot reconstruct information removed by an earlier export.
Does increasing the file size improve the image?
Not by itself. Adding metadata, padding the file, or saving a damaged image at maximum quality does not create authentic detail. Evaluate the source information, processing quality, output dimensions, and compression together.
Will changing 72 dpi to 300 dpi make the JPEG sharper?
Changing only the dpi or ppi metadata does not add pixels. Print sharpness depends on the pixel dimensions divided by the physical print size. Use our print resolution and pixel dimensions table to calculate the effective ppi.
Can I improve a JPG in a browser?
Yes. A browser-based enhancer can process the file without installing desktop software. You can compare original-size, 2x, and 4x results with the Image Enhancer. Review the service's storage and privacy terms before submitting personal or confidential material.
Can an old JPEG photograph be restored?
Light compression artifacts, noise, fading, and low resolution may be made less distracting. Clipped highlights, blocked shadows, severe motion, missing faces, and unreadable words cannot be recovered with certainty. Preserve the unedited scan for historical, archival, or evidentiary use.
Summary
Improving JPEG quality begins with diagnosis. Distinguish compression artifacts from missing pixels and capture blur. Work from the best source, reduce the most obvious compression damage, upscale only enough for the intended output, and apply restrained sharpening last.
AI enhancement can make a file more useful, but it does not provide a verified reconstruction of lost information. Inspect the result at 100%, retain the original and an editable master, and export the final delivery JPEG only once.