Remove Image Noise: Reduce Grain Without Losing Detail
Remove image noise by identifying grain, color speckles and compression artifacts. Learn a cautious GIMP and Photoshop workflow, detail checks and when to upscale.
 Image Enhancer Editorial Team
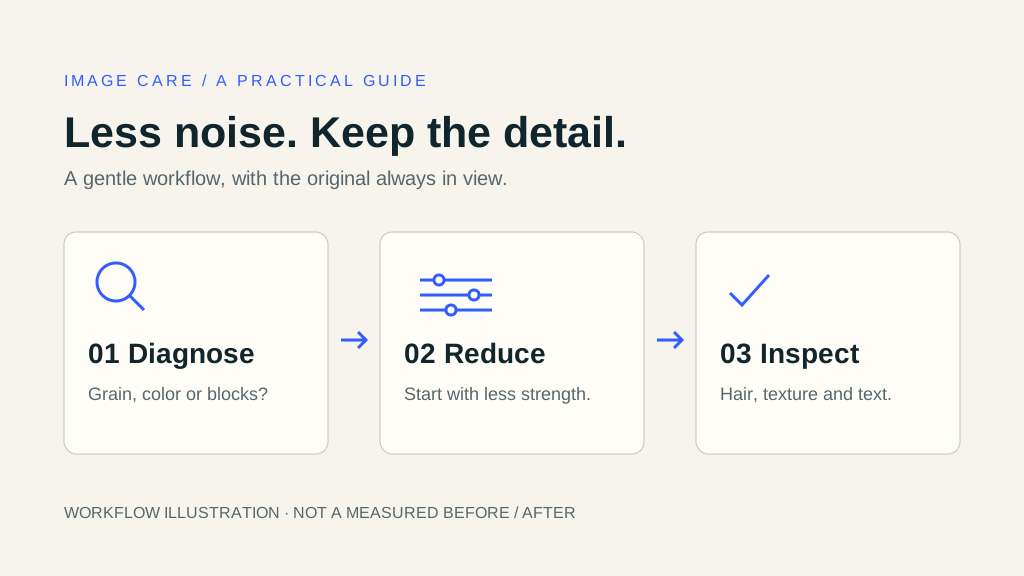
To remove image noise, first decide what you are trying to remove. Fine grain in a dark photograph, colored speckles on a wall and square blocks around lettering need different treatment. A stronger filter can make the background smoother while also erasing hair, fabric and small text.
The workflow illustration above shows three decisions: diagnose the problem, reduce it gently, then inspect detail. It is a diagram, not a software screenshot or a measured before-and-after result. This guide focuses on noise reduction. For a small image that mainly needs more pixels, use the image enlargement tool; for lost focus or motion blur, start with the blurry photo guide.
Identify grain, color noise, compression and blur
Look at both a plain area and an important edge before choosing a method:
- Fine brightness variation: a wall or shadow looks sandy. Try conservative noise reduction and check whether real texture survives.
- Colored speckles: isolated red, green or blue spots appear in areas that should have a consistent color. A color-noise adjustment may suit this better than smoothing the whole picture.
- Blocks and ringing: squares or ripples appear around edges in a compressed file. Refer to the JPEG quality guide for that format-specific workflow.
- Soft or doubled edges: the subject is out of focus or moved during exposure. Removing noise does not reverse that cause.
Several problems can coexist. Write down the most distracting one and address that first. Do not assume every mark is an error: film grain, paper texture and fine drawing strokes may be part of the image you want to keep.
Prepare the original and a detail checklist
Keep a source copy and compare at 100%
Start with the best original available, rather than a copy saved from a chat preview. Keep it unchanged and edit a duplicate. Compare the same crop at 100% zoom, then check the intended display or print size. A filter that looks impressive in a tiny preview may damage details when examined closely.
Choose a shadow, a flat-color region and a detailed region. For a portrait, inspect the eyes and hair; for a product photograph, inspect labels and material texture. Record what must remain readable or recognizable before processing.
Separate unwanted noise from real texture
Judge the whole image as well as each crop. If every surface becomes equally smooth, the filter may be removing the differences between skin, cloth and background. Some remaining grain can be preferable to a featureless face. Keep the original visible so you can reverse a choice instead of repeatedly filtering an already softened copy.
Try free noise reduction in GIMP
The GIMP 3 manual places Noise Reduction under Filters → Enhance → Noise Reduction. Increase Strength cautiously while comparing the preview. The manual notes that increasing strength reduces noise but also increases blur.
Apply that tradeoff to your own detail checklist. Stop increasing the setting when the problem is tolerable; if lettering or texture begins to merge, reduce it. Keep an editable working file before exporting a separate sharing copy. For resizing and export context, see the GIMP upscaling guide.
Adjust luminance and color noise in Photoshop
Adobe documents Filter → Noise → Reduce Noise, including controls for preserving detail and reducing color noise, in its Photoshop noise reduction guide. Compare modest changes before combining several adjustments.
There is no universal setting for every camera, image size and subject. Keep a version with less processing and compare it at the final use size. Menu labels can differ by interface language or version; use the linked instructions to locate the corresponding controls.
Separate AI denoising from image enlargement
Denoising aims to suppress unwanted variation; enlargement changes pixel dimensions. A larger output can still contain noise. An AI-generated edge can also look plausible without matching the original subject.
When noise is the main problem, compare a gently cleaned version before deciding whether you need enlargement. If the target dimensions are already sufficient, enlargement adds no necessary size benefit. If more pixels are required, compare the original-size result with a modest enlargement and inspect texture again. Some applications combine these operations, so evaluate their actual result rather than assuming every app needs the same order.
The site's photo enhancement page and homepage provide access to the existing enhancement workflow. They are not dedicated, adjustable noise-reduction controls, and this article does not claim that a particular noise type will be removed. Keep any version that better preserves the source.
Check for damage from excessive smoothing
Before accepting an edit, check these areas:
- Hair, eyelashes and thin lines should remain distinct rather than merging.
- Skin and fabric should retain texture rather than becoming waxy patches.
- Labels, numbers and signatures must be compared with the original, not guessed.
- Edges should not gain bright outlines or invented patterns after sharpening.
- Shadows should still contain useful structure, even if some grain remains.
If the filter fails these checks, lower its strength or return to the original. Adding stronger sharpening to a heavily smoothed image can create another kind of artifact instead of restoring the removed information.
Save and share without adding more damage
Keep the untouched source and an editable master. Export a separate copy sized for its actual destination, then reopen it and inspect it. Changing a noisy JPEG to PNG does not repair the existing defects; it can avoid another JPEG compression step during intermediate editing.
If an image looks worse only after messaging or upload, compare the received file's pixel dimensions with the exported copy. Repeatedly denoising it will not solve a sharing pipeline that resizes or recompresses each upload. For sensitive photographs, also check an online service's upload and retention terms before sending a file.
Frequently asked questions
Should I remove every trace of noise?
No. Choose enough reduction to make the image useful without sacrificing meaningful detail. The acceptable balance depends on the subject and the final size.
Will denoising fix an out-of-focus photo?
It does not restore missing focus information. Noise, blur and insufficient resolution require different decisions, even when they occur together.
Can I use this approach for phone photos?
Yes: find the original, identify the problem, process a copy and compare details. The available editing controls depend on your app; do not assume every phone provides a separate noise slider.
What if screenshot text looks noisy?
If the source screen is available, recapture it at a readable size first. Follow the screenshot quality guide and verify every important character; smoothing is not a reliable way to reconstruct small text.
Related tools and guides
Use photo enhancement for photographic use cases, the image enlargement tool when output dimensions are too small, and the JPEG quality guide for compression-specific problems. Return to the blog for other image preparation methods.