Instagram Image Quality Loss: Prepare and Check Photo Uploads
Troubleshoot Instagram image quality loss with a source-first photo workflow. Check cropping, export choices, app quality settings and detail after uploading.
 Image Enhancer Editorial Team
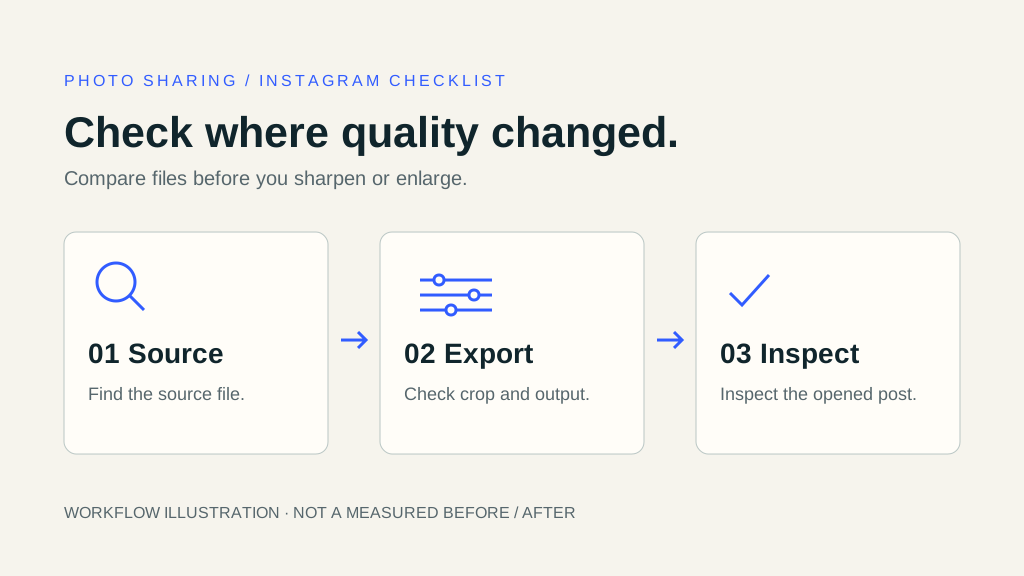
Instagram image quality loss needs a different response depending on where the damage starts. A soft original, an awkward crop, repeated exports and a small profile preview can all make a photograph look worse. Uploading a larger file is not a universal fix.
The cover is a preparation checklist, not an Instagram screenshot or measured before-and-after result. This guide covers still photographs and graphics, rather than Reels, video encoding or downloading other people's posts.
Compare the source and post under similar conditions
Open the source outside Instagram and check a detailed area: hair, fabric, a product label or fine lettering. Then compare the posted photo at a similar display size. Do not judge only the profile-grid thumbnail, which is a different viewing context from opening the post.
If the source is already soft, investigate the original before changing upload settings. If a clean source looks worse only after posting, review the crop and exported copy. Keep notes on which version you used so that you can change one variable at a time.
Export once from the best source
Use the camera original or editable design instead of a screenshot, chat download or file repeatedly saved as JPEG. Preserve that master and export a separate posting copy. For earlier damage introduced during messaging, use the LINE image quality guide.
Check the local export before uploading. If text is already unreadable or an edge has a halo, publishing will not restore it. For photographs with compression artifacts, see the JPEG preparation guide.
Decide the crop and text size before export
Choose the intended posting surface and inspect its crop preview. Leave room around essential faces, labels and borders. A profile-grid preview and the opened photo may frame the same content differently; do not treat that difference alone as proof of compression.
For a graphic, simplify tiny lettering rather than relying on sharpening. For example, cropping a 2,400-pixel-wide design down to a small central area leaves fewer source pixels for that region. Exporting the cropped area at a much larger size does not recover the discarded source detail. This is an illustration of cropping, not a platform limit.
Samsung's official Instagram image-quality guidance, dated May 23, 2023, discusses resizing and cropping during sharing. Its dimension list is historical guidance, not a complete current specification for every Instagram surface. Check Instagram's current photo-resolution help before preparing assets to exact platform limits.
Check app quality settings and upload completion
Review the media-quality controls actually available in your installed app. If it offers a higher-quality upload option, check its description and scope before using it. Menu names and placement can change, and a setting described for video should not automatically be treated as a guarantee for photographs.
Use a stable connection and let the upload finish before comparing the result. A connection problem and a consistently poor export are different issues. Avoid deleting and reposting repeatedly without first checking the saved source and local export.
For a controlled comparison, keep the subject, crop and export method the same, then change only the setting you are investigating. This article reports no live-account upload experiment and promises no particular compression ratio.
Inspect edges and color after posting
Look at the image opened as a post as well as its thumbnail. Check fine lines for smearing, high-contrast edges for bright halos and gradients for visible steps. If colors differ, compare on the same device with similar brightness and display settings before blaming resolution alone.
Keep the exported file alongside the editable source. If an earlier export looks better, return to the master rather than re-editing a copy saved from the published post. A bigger file size is not proof that more visible information survived.
Know when enlargement helps
If the best remaining source is genuinely too small for your intended layout, compare a modest enlargement with the image enlargement tool. Inspect important shapes and lettering against the original. AI can create convincing details that were not present in the source.
Enlargement does not control Instagram's processing. When the source already has adequate pixels, multiplying its dimensions can add transfer cost without addressing the cause. For logos and exact typography, a fresh export from the original design is usually a more controllable starting point.
Frequently asked questions
Does PNG prevent platform compression?
Do not assume that uploading PNG makes the entire publishing path lossless. Inspect the actual post. The PNG guide explains source export, transparency and edge checks; format selection is not a guarantee about the platform's output.
Will a 4x image always look better?
No. Match the output to the actual task and check its detail. More pixels cannot guarantee that the uploaded result preserves the original information.
Does this guide cover video too?
No. Video has separate duration, frame-rate and encoding decisions. Do not apply photo advice as a substitute for video-specific platform guidance.
Related guides
Use the screenshot guide for text-heavy source captures, JPEG preparation for repeated compression and the blog for other image tasks. The homepage provides the existing enhancement workbench.